Installing tile backsplash in White Bear Lake, MN starts the same way whether you're updating a 1960s rambler near Bald Eagle Lake or a newer build off Highway 61: solid prep, a smart layout, and patient technique. Most DIY backsplash failures trace back to one of three things — a wall that wasn't actually ready, a layout that wasn't planned before the thinset went on, or grout that got rushed. This guide walks through every stage in order, plus the one local detail most how-to articles skip: what the City actually requires before you start tearing into the wall.
Do You Need a Permit for a Tile Backsplash in White Bear Lake?
Short answer: usually no, but there's a catch worth knowing before you start.
The City of White Bear Lake's Building Department lists cosmetic updates that do not require permitting, such as painting, carpet flooring, tile flooring, cabinet replacement, storm doors, gutters or trim , and a straightforward tile backsplash falls into that same cosmetic category. The catch is electrical work. The same department's permit guidance covers New Buildings, Additions, Residential Alterations or Renovations, Building or Interior Demolition, Electrical, Plumbing and HVAC/Mechanical work. Reinstalling an existing outlet cover is fine without a permit. Moving an outlet box, adding a switch, or running new wiring behind the tile is electrical work and needs a licensed electrician and a permit. If your project is part of a bigger kitchen layout change, it's worth a quick call to BRZ Construction or the Building Department before you start, rather than after the tile is already on the wall.
Prepare the Wall and Workspace
Prep work determines whether your finished backsplash looks crisp or shows every flaw underneath.
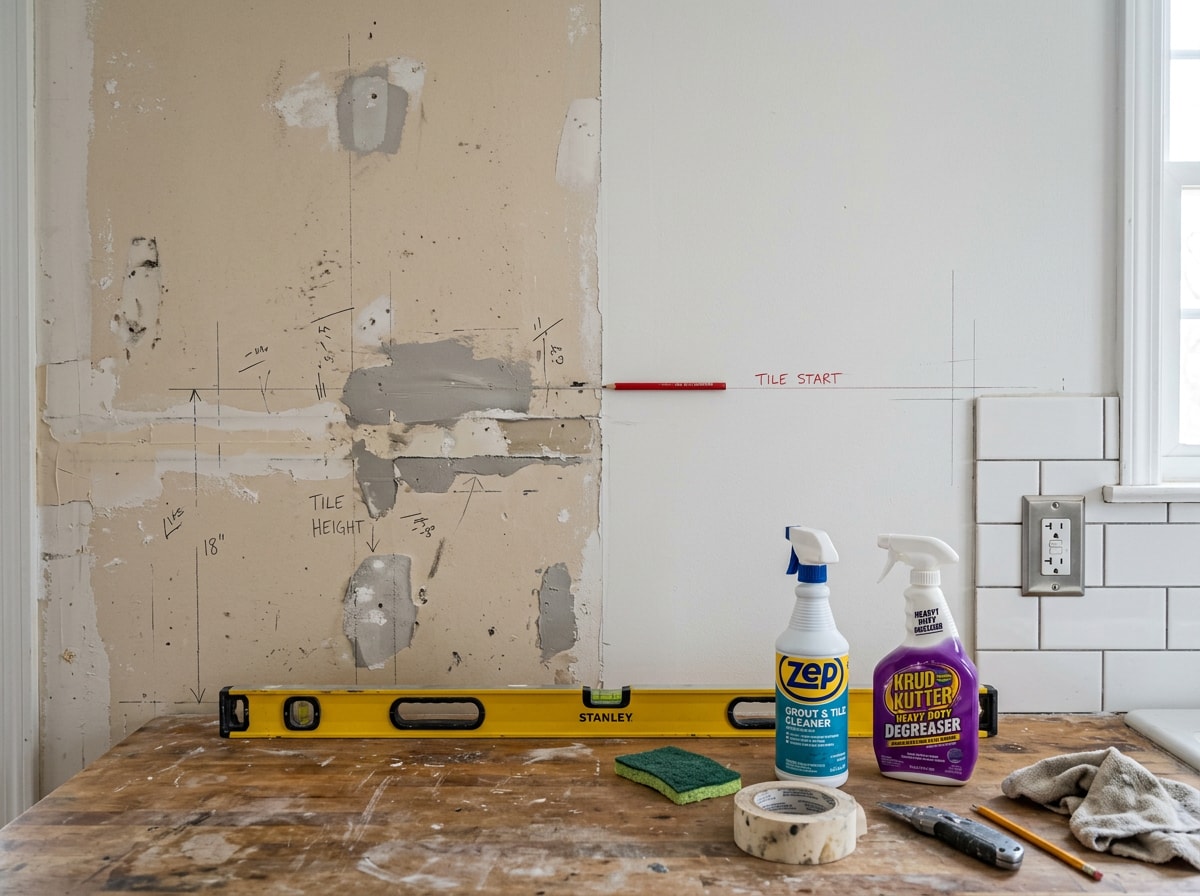
Every reliable installation starts with a flat, clean, dry, and grease-free wall surface, with the breaker shut off before any tool touches an outlet. Skip this stage and even expensive tile will telegraph lumps, dust, and adhesion problems later.
Start with these steps, in order:
- Clear the counters and cover appliances and cabinets with plastic sheeting.
- Shut off the circuit feeding the outlets in your work area.
- Remove the outlet covers so you can tile around the boxes cleanly.
- Wipe down the wall with a degreasing cleaner to strip cooking residue.
- Patch any holes or dents and let everything dry fully.
Older White Bear Lake homes with plaster or aging drywall sometimes need cement backer board instead of tiling straight onto the existing surface. If the wall feels soft, uneven, or crumbly when pressed, backer board is the safer bet. On a few jobs near downtown White Bear Lake, our crew has found plaster walls that looked fine on the surface but crumbled the moment a screw went in — which is exactly why we always press-test before committing to a tiling plan. If a wall feels spongy over a larger area than just the backsplash zone, that's a sign to loop in our structural repair team before tiling over a problem that will only get worse.
Quick wall-readiness checklist:
| Check | What to Look For |
|---|---|
| Flat | No dips or bulges under a straightedge |
| Clean | Free of grease, dust, and loose paint |
| Dry | No moisture or recent water damage |
| Sound | Solid when pressed, no give or crumbling |
Cutting or sanding old drywall and plaster during demo kicks up fine dust. Respirable crystalline silica is a fine dust generated when workers cut, grind, drill, or crush materials containing silica, and particles small enough to reach the deep lung cause silicosis, lung cancer, COPD, and kidney disease. Wear a properly rated respirator and work with the window open or a fan running. And if your home was built before 1978, know that exposure to lead from deteriorated or disturbed lead paint is the single largest cause of childhood lead poisoning, which is why the EPA's Renovation, Repair and Painting Rule protects residents of pre-1978 homes from lead paint disturbed during renovation work — a real consideration in many of White Bear Lake's older neighborhoods.
Gather Your Tools and Materials
Before you open a box of tile, assemble everything: tape measure, level, notched trowel, tile cutter or wet saw, tile spacers, grout float, a grout sponge, and safety glasses and gloves. Having a complete materials checklist on hand prevents mid-project trips to the hardware store and keeps your thinset from drying out while you search for a missing tool.
Choosing and Ordering the Right Tile
Tile choice isn't just aesthetic — it dictates which adhesive you'll use, which cutting tools you'll need, and how much overage to order. Nailing this decision before you plan your layout saves wasted trips and mismatched grout lines later.
Tile Types and How They Behave in Real Life
Ceramic tile cuts easily and costs less, making it a forgiving choice for first-time DIYers. Porcelain is denser, more water-resistant, and tougher on blades. The ceramic-versus-porcelain decision usually comes down to budget versus durability.
Glass tile adds light-reflecting shine but chips more easily and needs a sharp, fine blade. Natural stone, like marble or travertine, offers unmatched texture but is porous and typically needs sealing before and after grouting.
Sourcing and How Much Tile to Buy
Figuring out how much tile to order starts with your square footage, then adding a buffer for cuts, breakage, and future repairs. A standard overage is 10% for straight, grid-style layouts. Diagonal patterns, herringbone, or natural stone with heavy veining call for closer to 15%, since more tiles get cut down or discarded for pattern matching.
Check the dye lot number on each box before you buy. Tile from different production runs can shade slightly differently once it's on the wall, and that mismatch is nearly impossible to fix after installation.
Plan Your Layout and Cuts
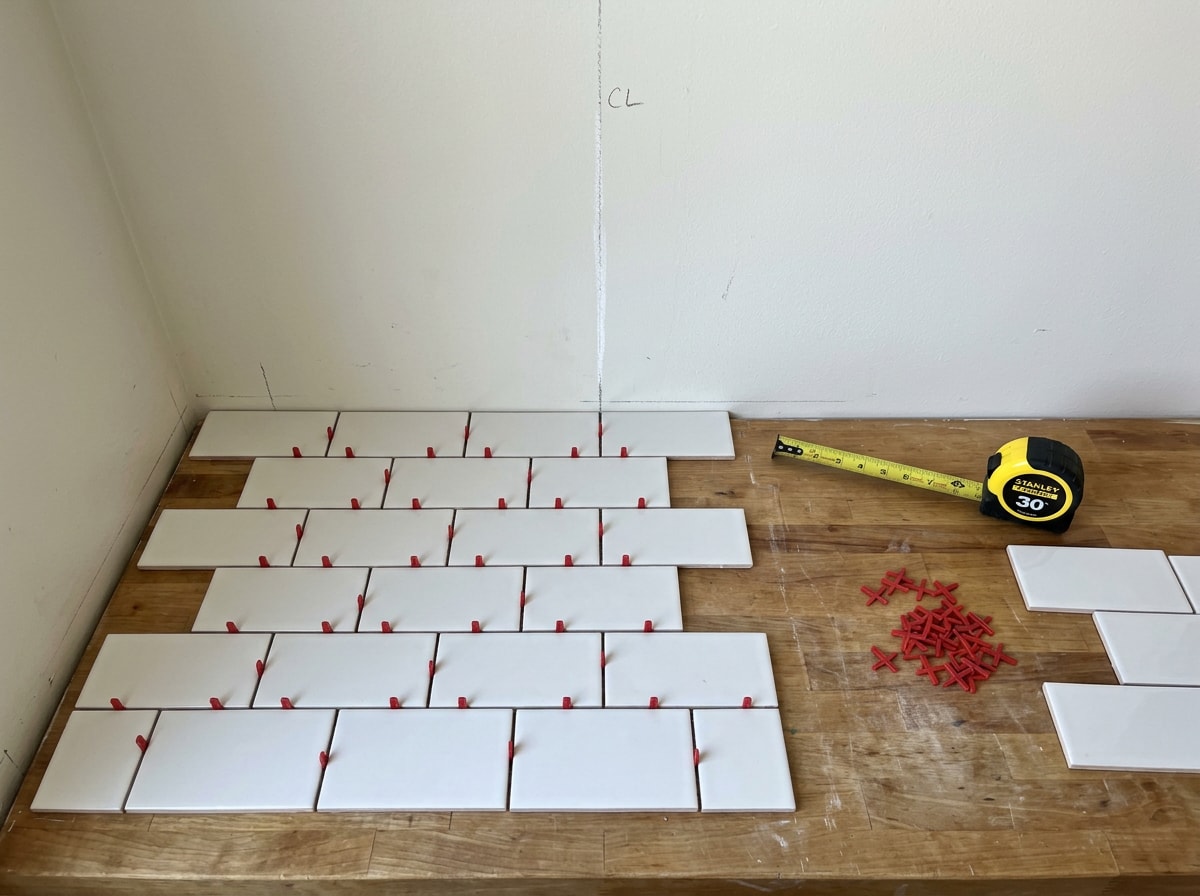
Good layout work happens before any adhesive is mixed. Measure the full wall width and height, then dry-lay a row of tile along the counter to see how full and partial tiles will fall.
Most installers use a centerline layout: mark the horizontal and vertical center of the space and work outward in both directions. This keeps cut tiles balanced on each end rather than leaving a sliver at one corner and a nearly full tile at the other.
Spend extra time planning cuts around outlets and switches now. Notching tile around a box is far easier to measure on paper than to eyeball with wet thinset already on the wall.
If this project is part of a larger kitchen update, coordinating tile with new counters or cabinets up front saves a second round of cuts later. Our kitchen remodeling and countertop installation teams can help time the backsplash around the rest of the work.
Apply Adhesive and Set the Tile
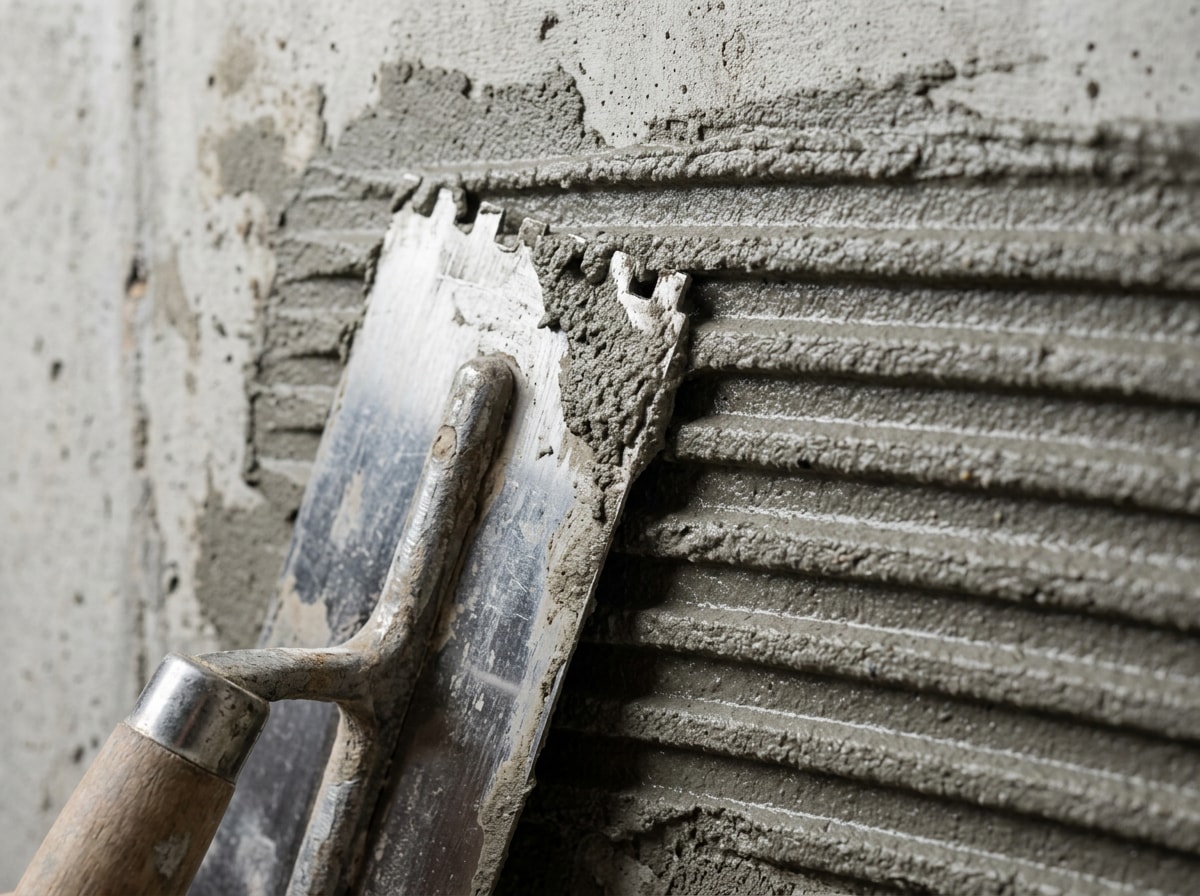
Mix your thinset mortar to a peanut-butter consistency: thick enough to hold a trowel ridge without slumping. This step is forgiving, but letting it sit too long or adding water after it starts setting weakens the bond.
Spread adhesive with a notched trowel held at a consistent 45-degree angle, working in small two- or three-foot sections so it doesn't skin over before tile goes on. Notch size matters more than most DIYers expect. The wrong size means too little or too much mortar behind the tile, which causes hollow spots or lippage. The TCNA Handbook for Ceramic, Glass, and Stone Tile Installation clarifies and standardizes installation specifications , including trowel-notch sizing by tile format, if you want to double-check your setup against the industry standard.
Press each tile in with a slight twisting motion, then insert spacers at every joint to keep grout lines even. Let the tile set for the time listed on your mortar bag, typically several hours to overnight, before you touch it again or start grouting.
Grout the Backsplash
Once the adhesive has fully cured, mix your grout to a thick, lump-free paste and apply it with a rubber float held at roughly a 45-degree angle, forcing it diagonally across the joints so it packs in fully. This is the step that separates a backsplash that looks tiled from one that looks finished.
Wipe away excess grout with a barely damp sponge, rinsing frequently so you're not smearing haze back across the tile face. Several light passes work better than one aggressive wipe. Once everything's dry, a light haze often remains. Buff it off with a dry cloth.
If you used cement-based grout, plan on sealing it once it's fully cured, usually 48 to 72 hours later, to block moisture and stains.
Caulk, Inspect, and Finish
Run a bead of flexible caulk, not grout, along the top and bottom edges of the backsplash and in any inside corners where tile meets countertop or cabinetry. Grout cracks at these movement joints. Caulk flexes with seasonal shifts instead.
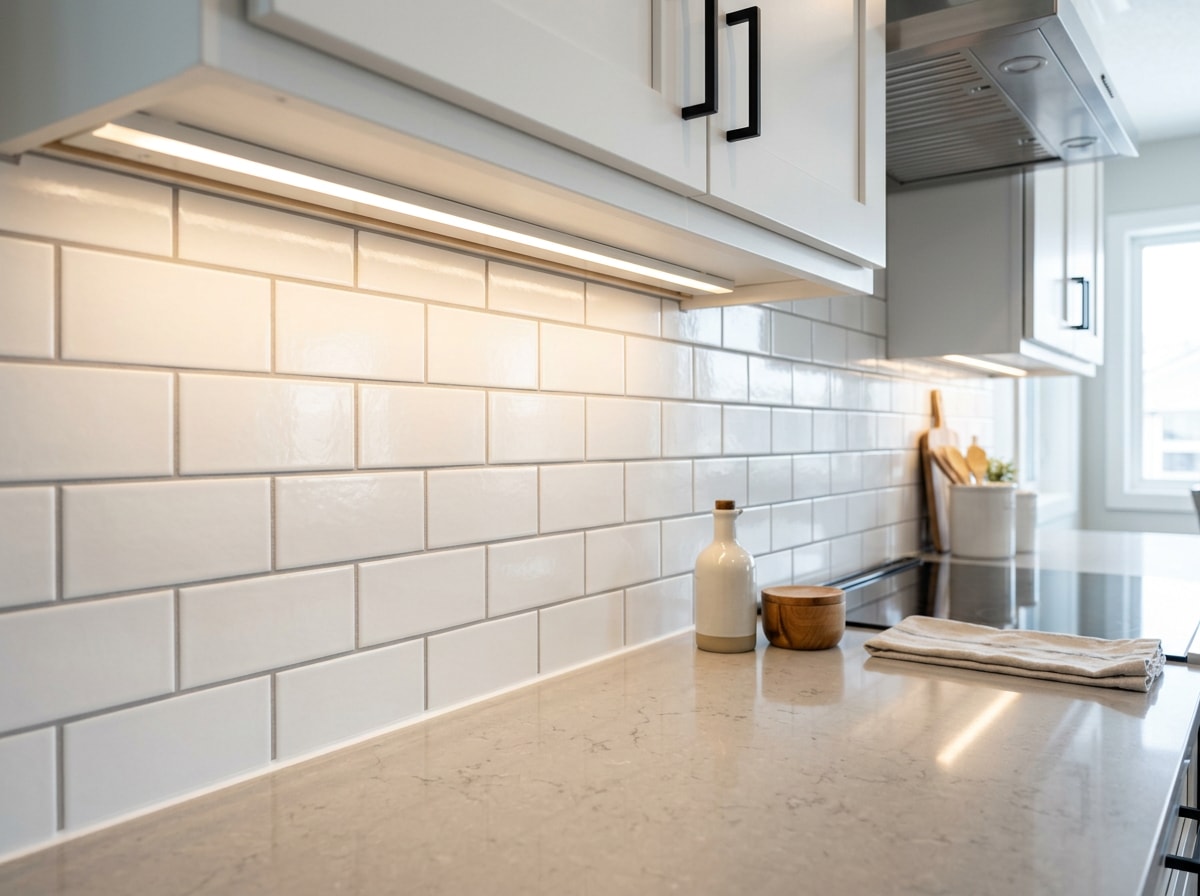
Use a matching caulk color, smooth the bead with a damp finger or caulk tool, and let it cure per the label before wiping down the surface. Reinstall your outlet covers once everything's dry, then inspect the finished backsplash under normal kitchen lighting, checking for lippage, grout gaps, or missed caulk lines.
DIY vs. Professional Installation: What Does It Cost?
Backsplash installation costs $10 to $50 per square foot, or $500 to $1,700 on average, including materials and labor. Here's a realistic side-by-side for a typical 30-square-foot kitchen backsplash:
| Approach | Materials | Labor | Estimated Total |
|---|---|---|---|
| DIY (materials only) | $250–$600 | $0 (your time) | $250–$600 |
| Hire a tile installer | $250–$600 | $500–$1,200 | $750–$1,800 |
DIY savings are real, but a crooked layout or weak adhesion can cost more to redo than hiring out from the start. If a wall turns out to need more than cosmetic prep, that's also where a general contractor earns its keep instead of a tile-only installer. For homeowners weighing a full kitchen refresh rather than just the backsplash, our structural remodeling guide for older North Oaks homes covers how wall and framing issues get handled before finish work starts, which applies just as much to older White Bear Lake homes.
If you'd rather skip the trial and error altogether, get a free estimate from our team serving White Bear Lake, MN and surrounding communities. Backed by 17 years of local experience across the MN Service Area , we can tell you on the spot whether your wall is backsplash-ready or needs more work first.
FAQ
What tools do I need for a kitchen backsplash installation?
You'll need a trowel, level, tile cutter, spacers, grout float, and basic safety gear. See the full tools and materials list in the prep section above rather than buying piecemeal as you go.
How long does it take to install a tile backsplash?
Most installations run one to three days: a day for prep and tile setting, another for the adhesive to cure, and a final day for grouting and cleanup. Rushing the cure time is the most common cause of loose tile later.
Do you need to seal the grout on a backsplash?
Cement-based grout, both sanded and unsanded, generally needs a sealer to resist stains and moisture. Epoxy grout is non-porous by nature and typically doesn't require sealing. Check your product label to confirm.
Do I need a permit to install a backsplash in White Bear Lake?
No, in most cases. Tile installation is a cosmetic update under the city's building code. The exception is if you're relocating outlets or adding wiring, which requires a licensed electrician and a permit.
What's the easiest tile for a first-time DIYer?
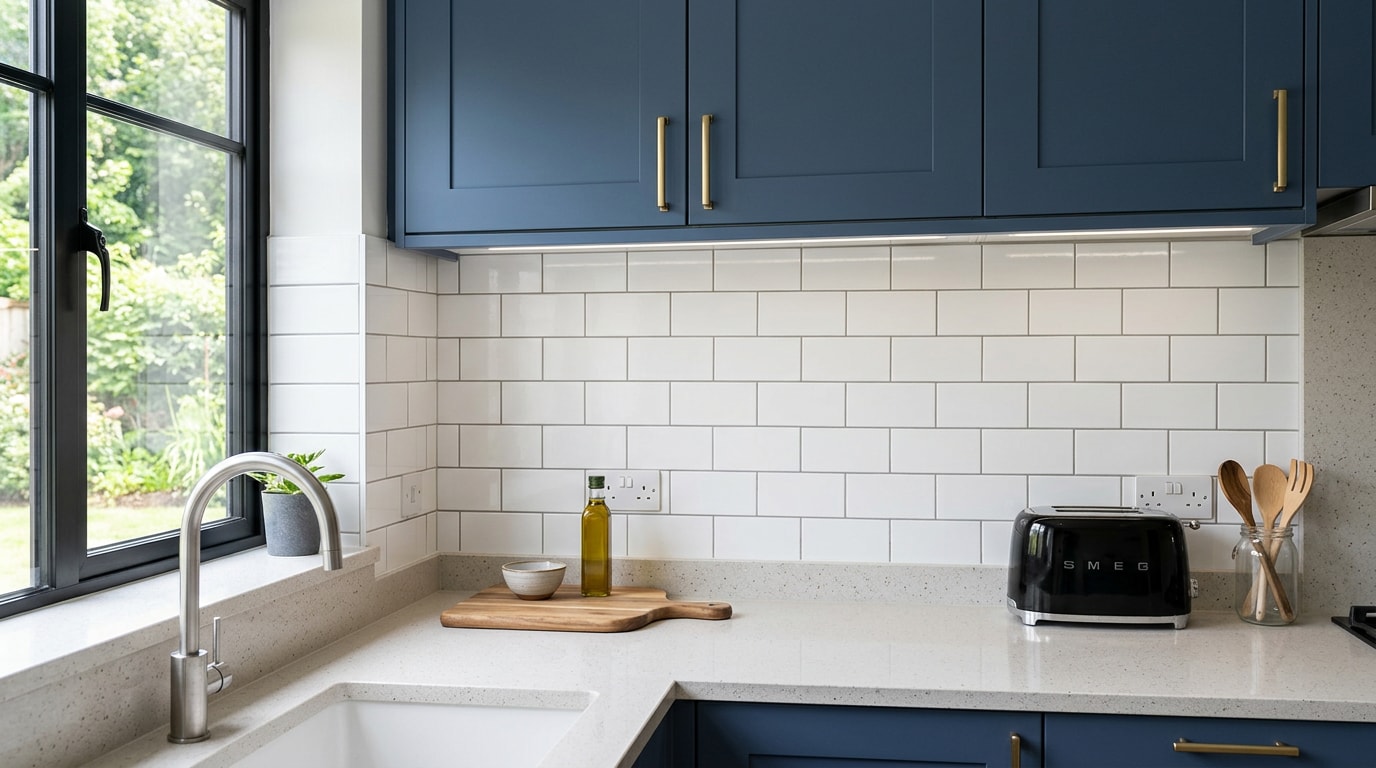
Standard ceramic subway tile in a straight-grid layout. It cuts cleanly with a basic wet saw, forgives small spacing errors better than glass or stone, and keeps grout lines simple to plan around outlets.
DIY vs. professional tile backsplash installation: what does it cost?
For a typical 30-square-foot kitchen backsplash, DIY materials run roughly $250 to $600 with no labor cost beyond your own time. Hiring a professional typically brings the total to $750 to $1,800 once labor is included. DIY saves money but carries more risk of costly redo work if layout or adhesion mistakes happen.